Trimming Your Dog’s Nails – A Step-By-Step Guide To Success
Courtesy of: Ashley
Lots of pet owners cringe at the thought of having to trim Fluffy or Cujo’s nails. Maybe it’s the thought of having to dress up in hockey gear to protect yourself, or the thought of “quicking” your pet and making them bleed that intimidates pet owners. Either way, with some training, most pets will allow you to trim their nails without a battle or injuries (on either side of the clippers).
For this discussion of nail trimming in dogs, I’m going to share our experience of teaching our four month old puppy, Brenley, to allow us to trim her nails.
Sondra and I are very lucky! Brenley LOVES food, which makes training her for this process much more enjoyable for all of us. We use her food as treats but if that is not enough you may need to find a treat that is of very high value to your dog and use it only for nail trims. Hugo, our other dog (you’ll meet him in a future blog), prefers cheese as his ultimate treat of choice and he only gets it for nail trims.
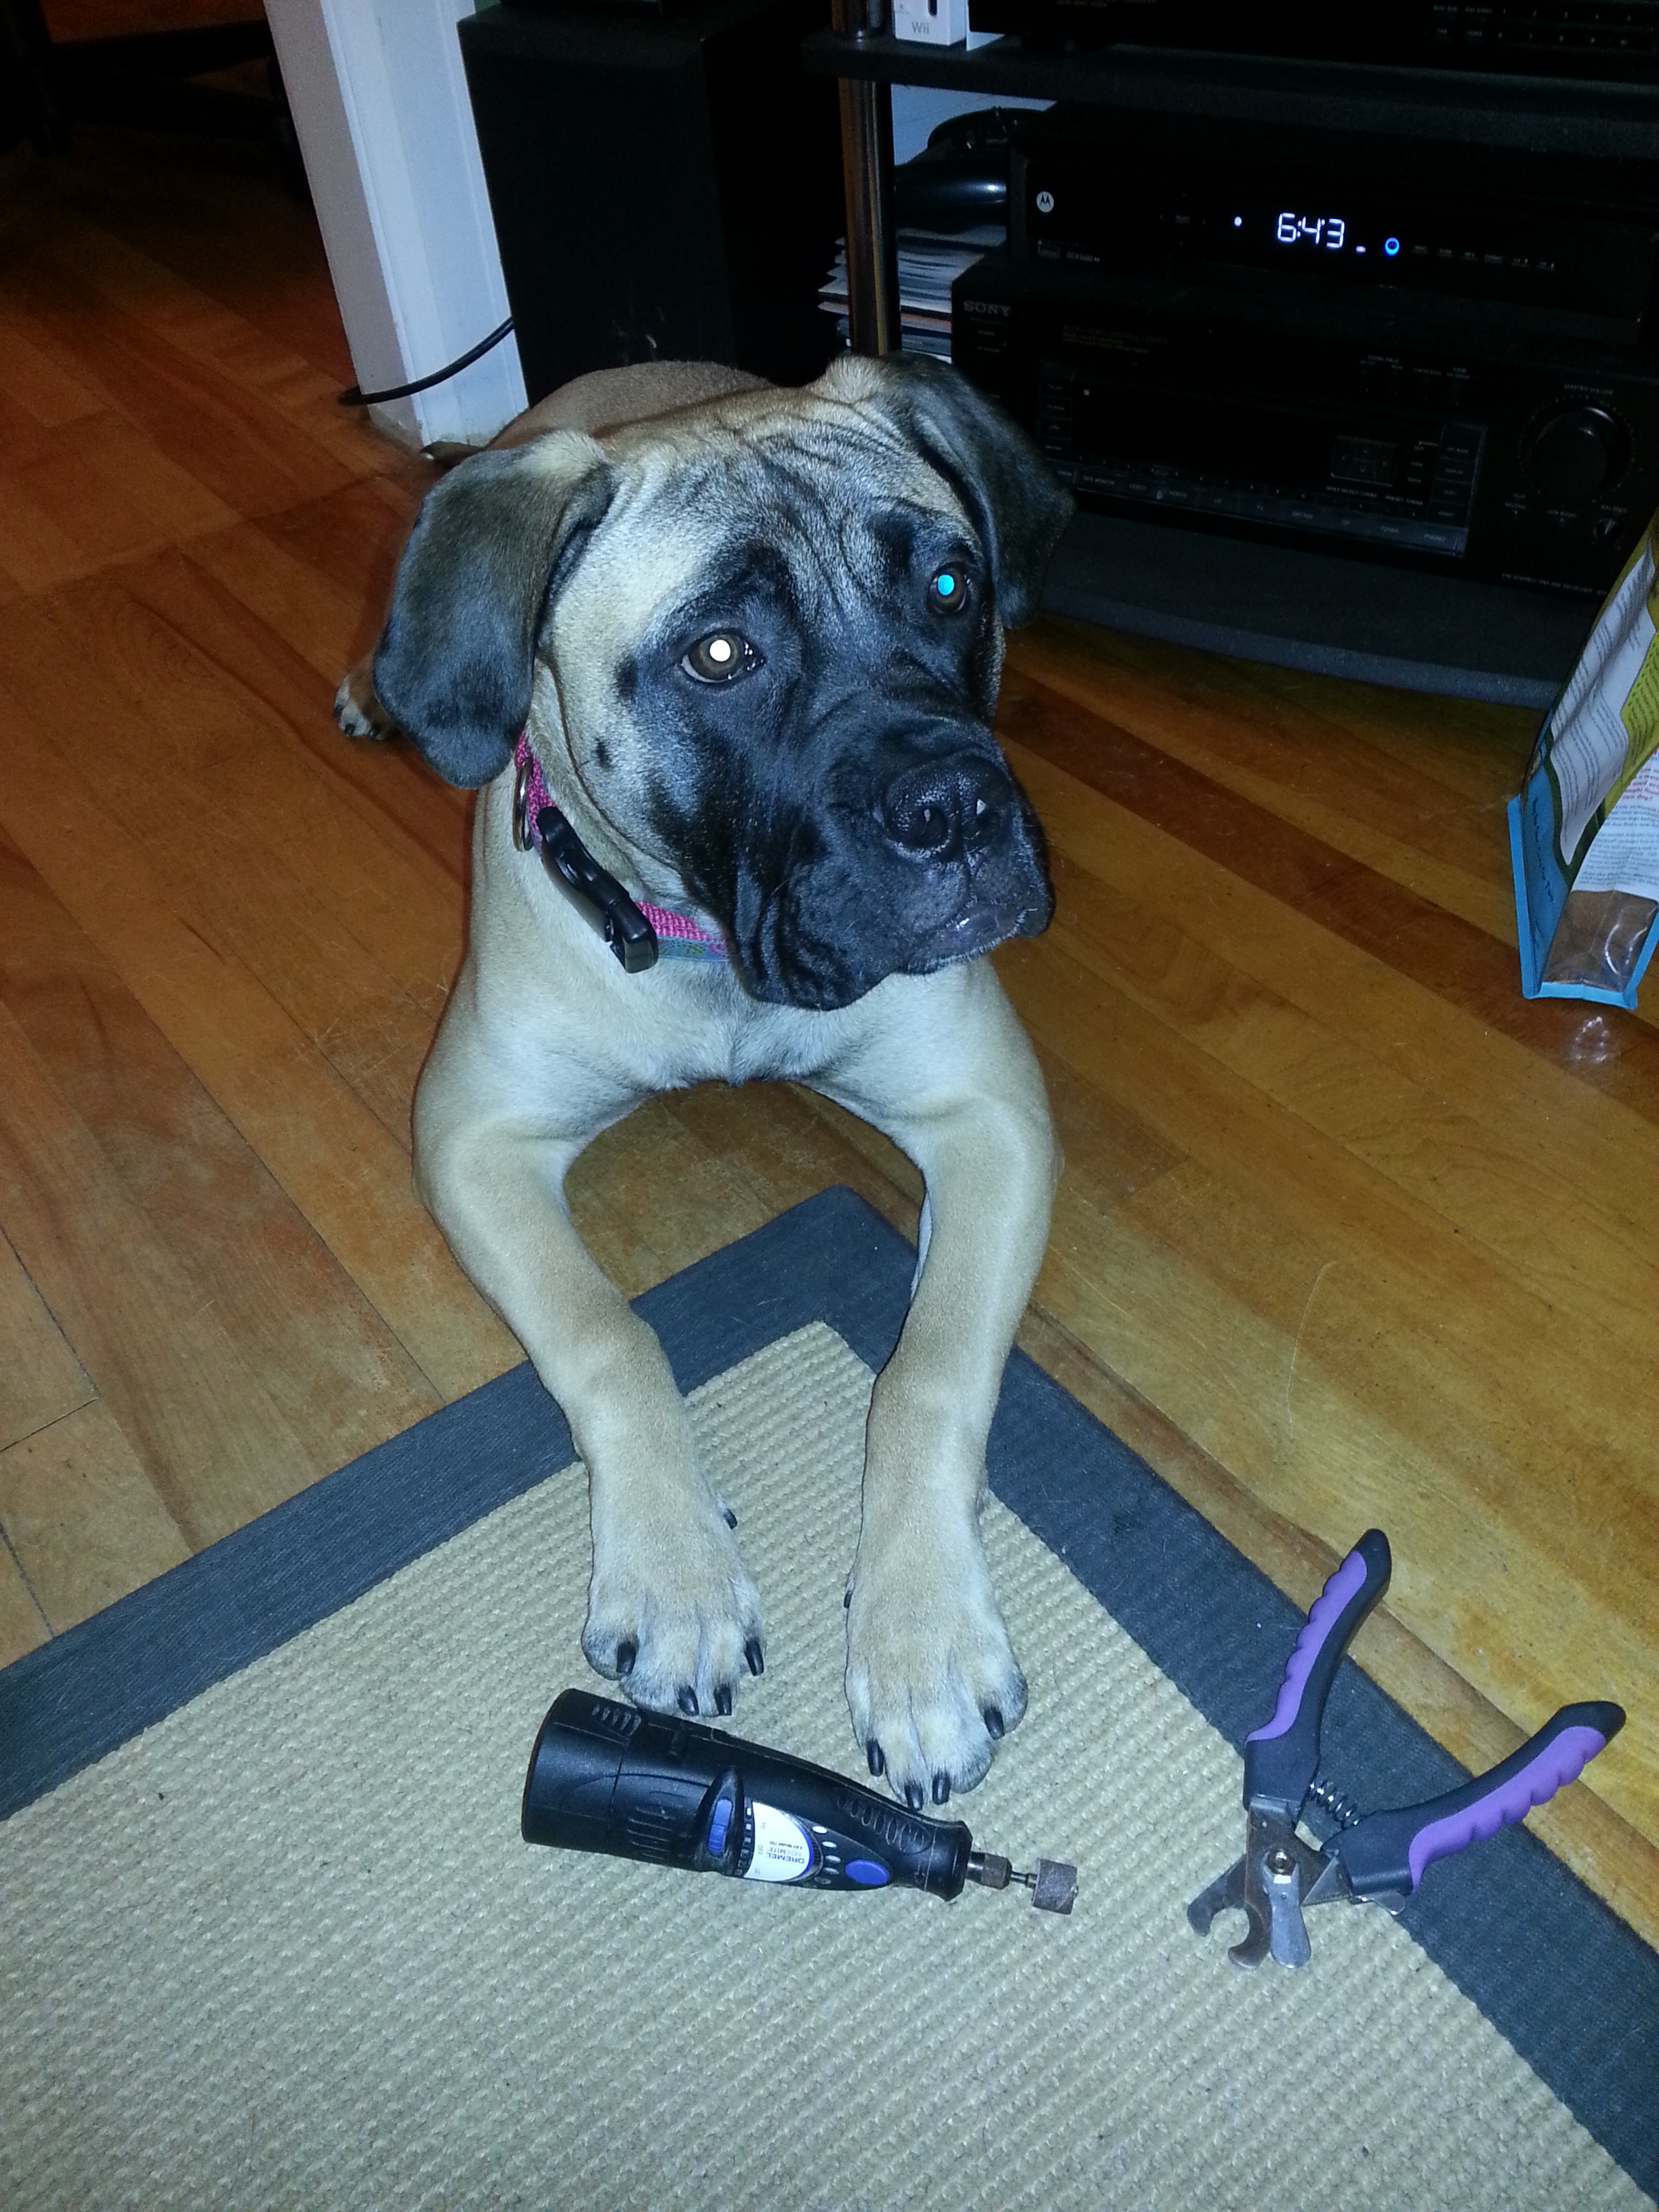
We are using two methods to trim her nails, the nail clippers and the dremel.
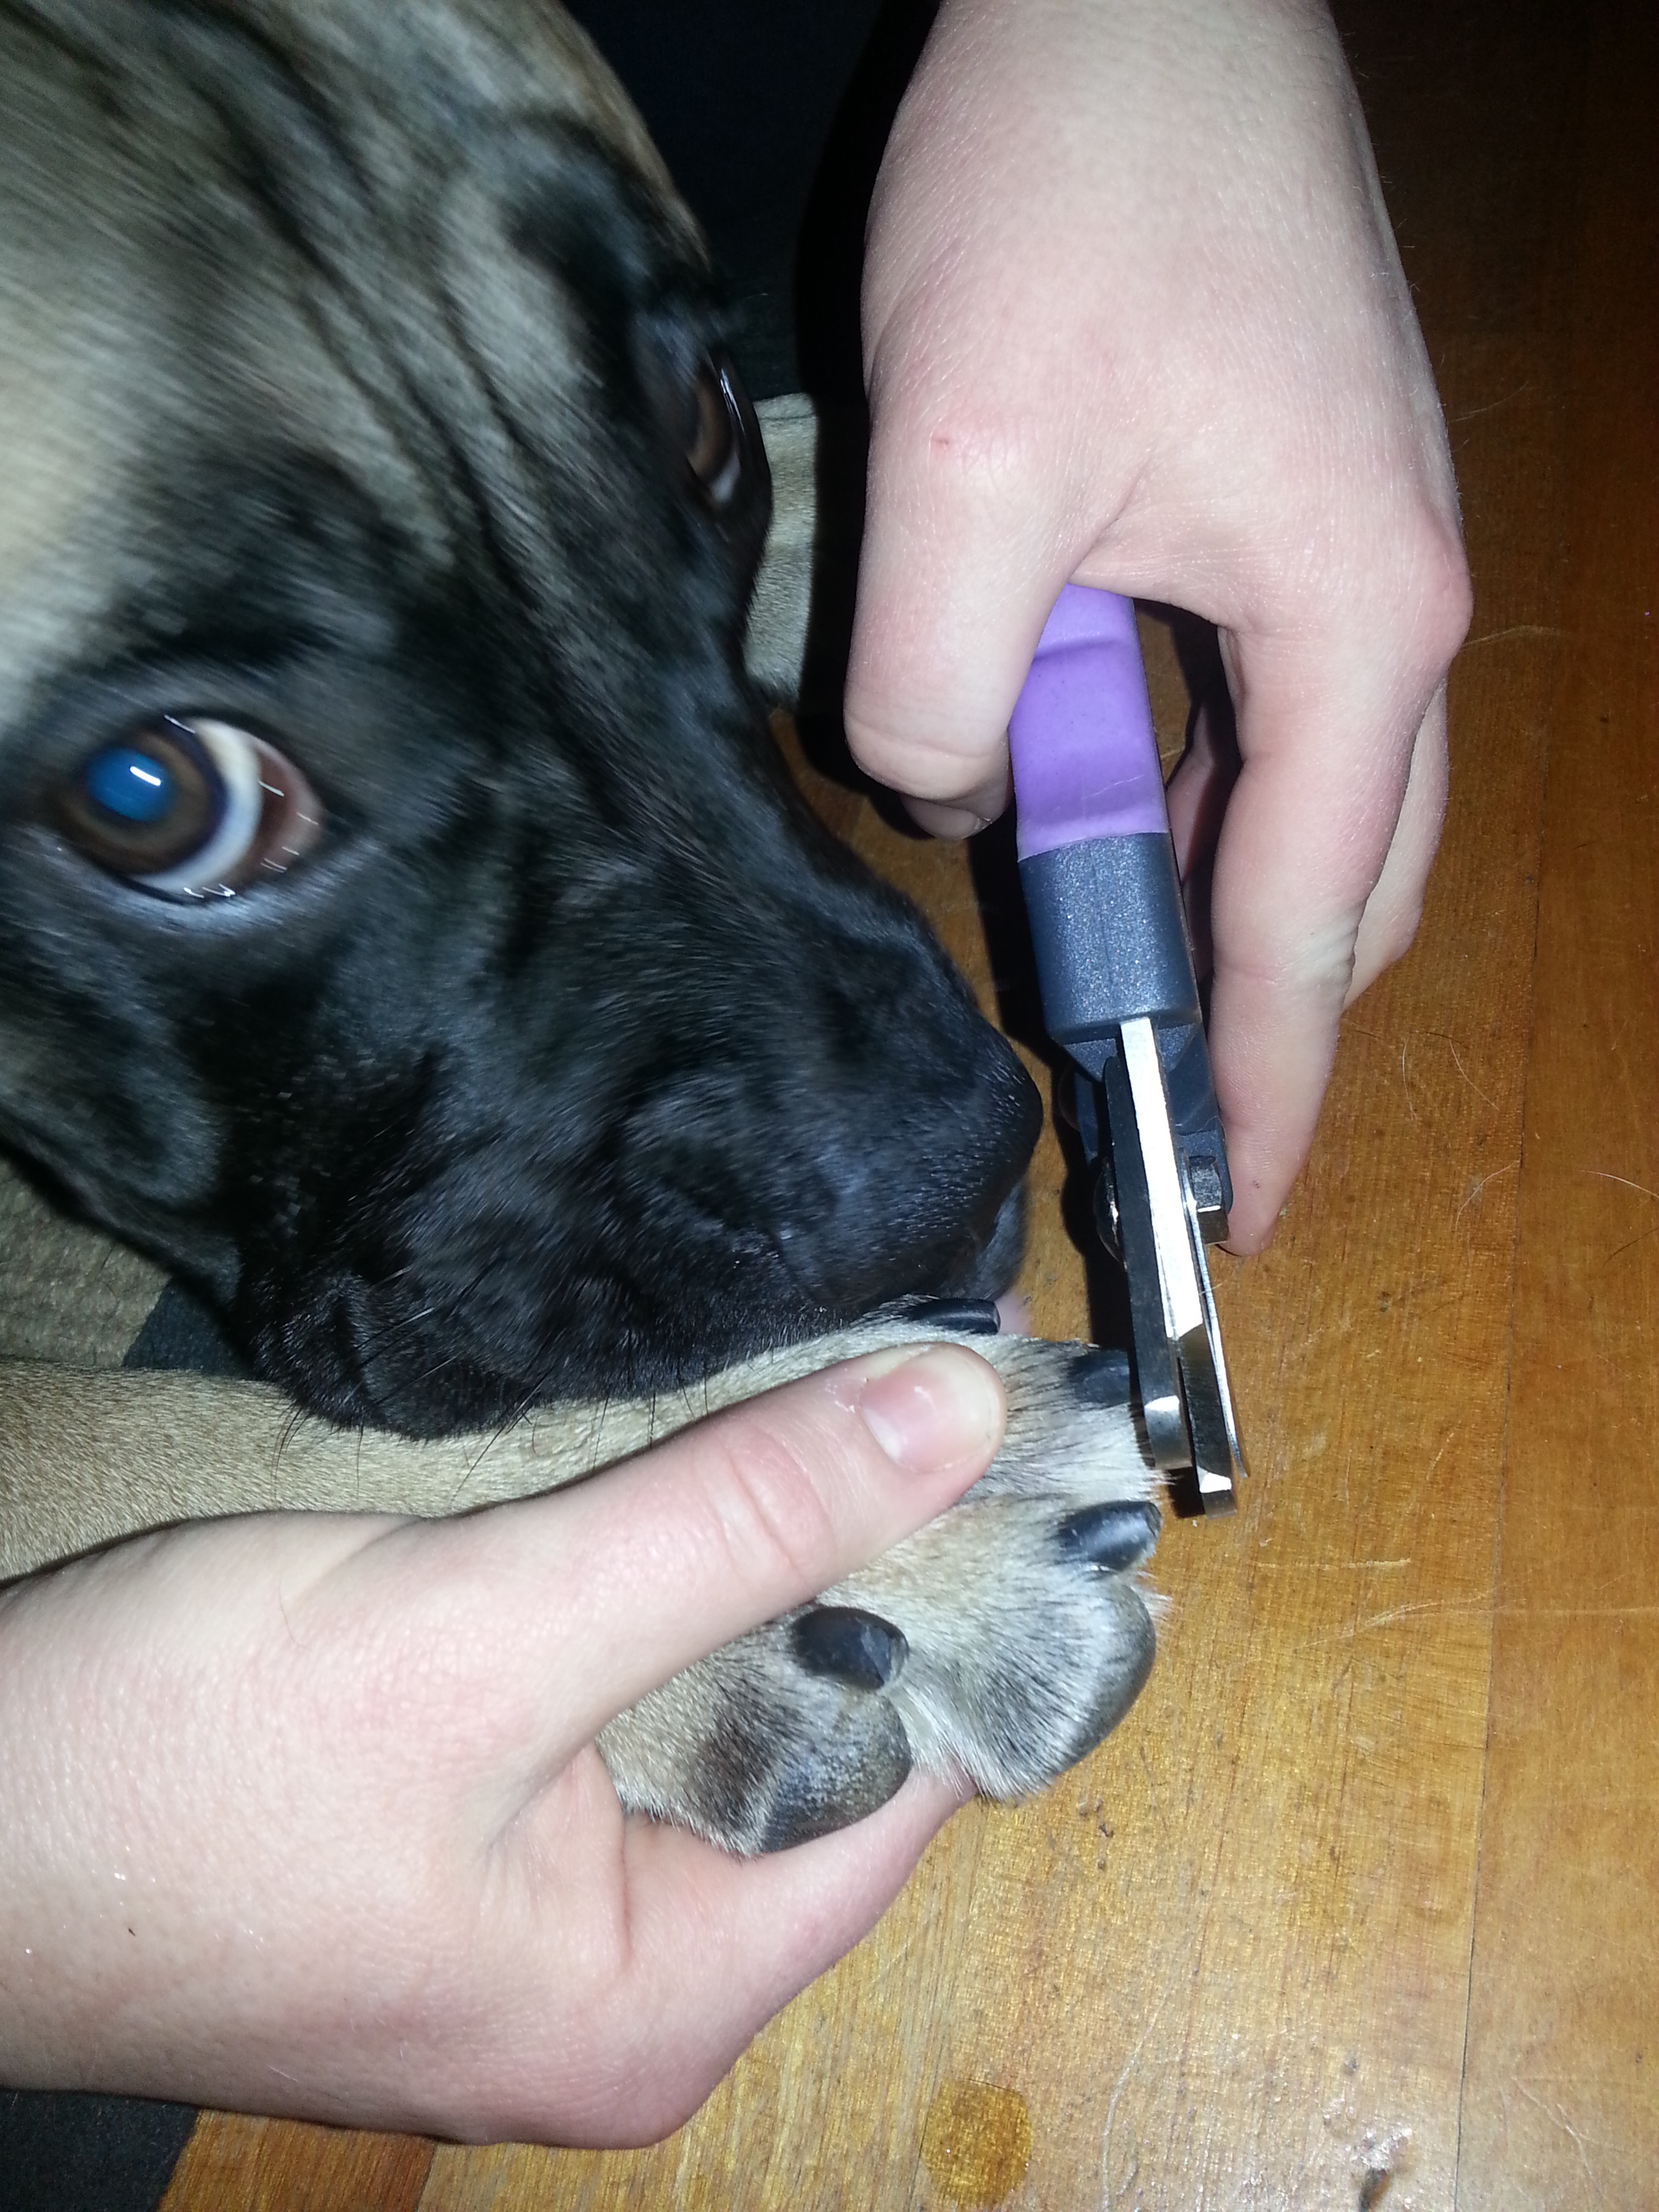
Using the Clippers:

Teaching your dog a new behavior takes lots of time, patience and rewards. Nail trimming, in particular, can be especially difficult because it can mean strange noises and staying still. Below are the steps to help guide you and your dog in becoming a master nail trimming team. Please take note: depending on the individual dog these four steps could occur in a short (several minutes) or long (several days) time period. Try not to push your dog too far past their comfort level; it’s better to take longer than you think you need to, than to do too much at once and risk causing your dog to experience unnecessary fear.
1. We started off by handling her feet often. Taking her paw in my hand, I placed my thumb above one toe and my index finger under the toe behind the pad. Slightly pushing down with my thumb extended the toe nail out enough for us to see. We started this procedure when she was sleeping, then when she was tired and lying down but not sleeping, and now we can do it while she is awake. As we did this to each toe we were giving her treats, making sure she was enjoying the experience.
2. Next, we introduced her to the nail clippers. We started this procedure by letting her sniff and show interest in them. As she did this we rewarded her with treats.
3. Once she was comfortable with them, I started holding onto her paw in my non-dominant hand (in my case the left) and holding the clipper in my dominant hand (the right) while Sondra fed treats. The more relaxed she became, the more treats she received. Be careful not to give treats if your dog is pulling away as you would be reinforcing the undesirable behavior of pulling away.
4. Once Brenley was relaxed and used to having the clippers near all of her feet, it was time to start trimming. We started by trimming the tip off the nail. By taking small amounts off at a time you are less likely to trim too short and cut the quick.

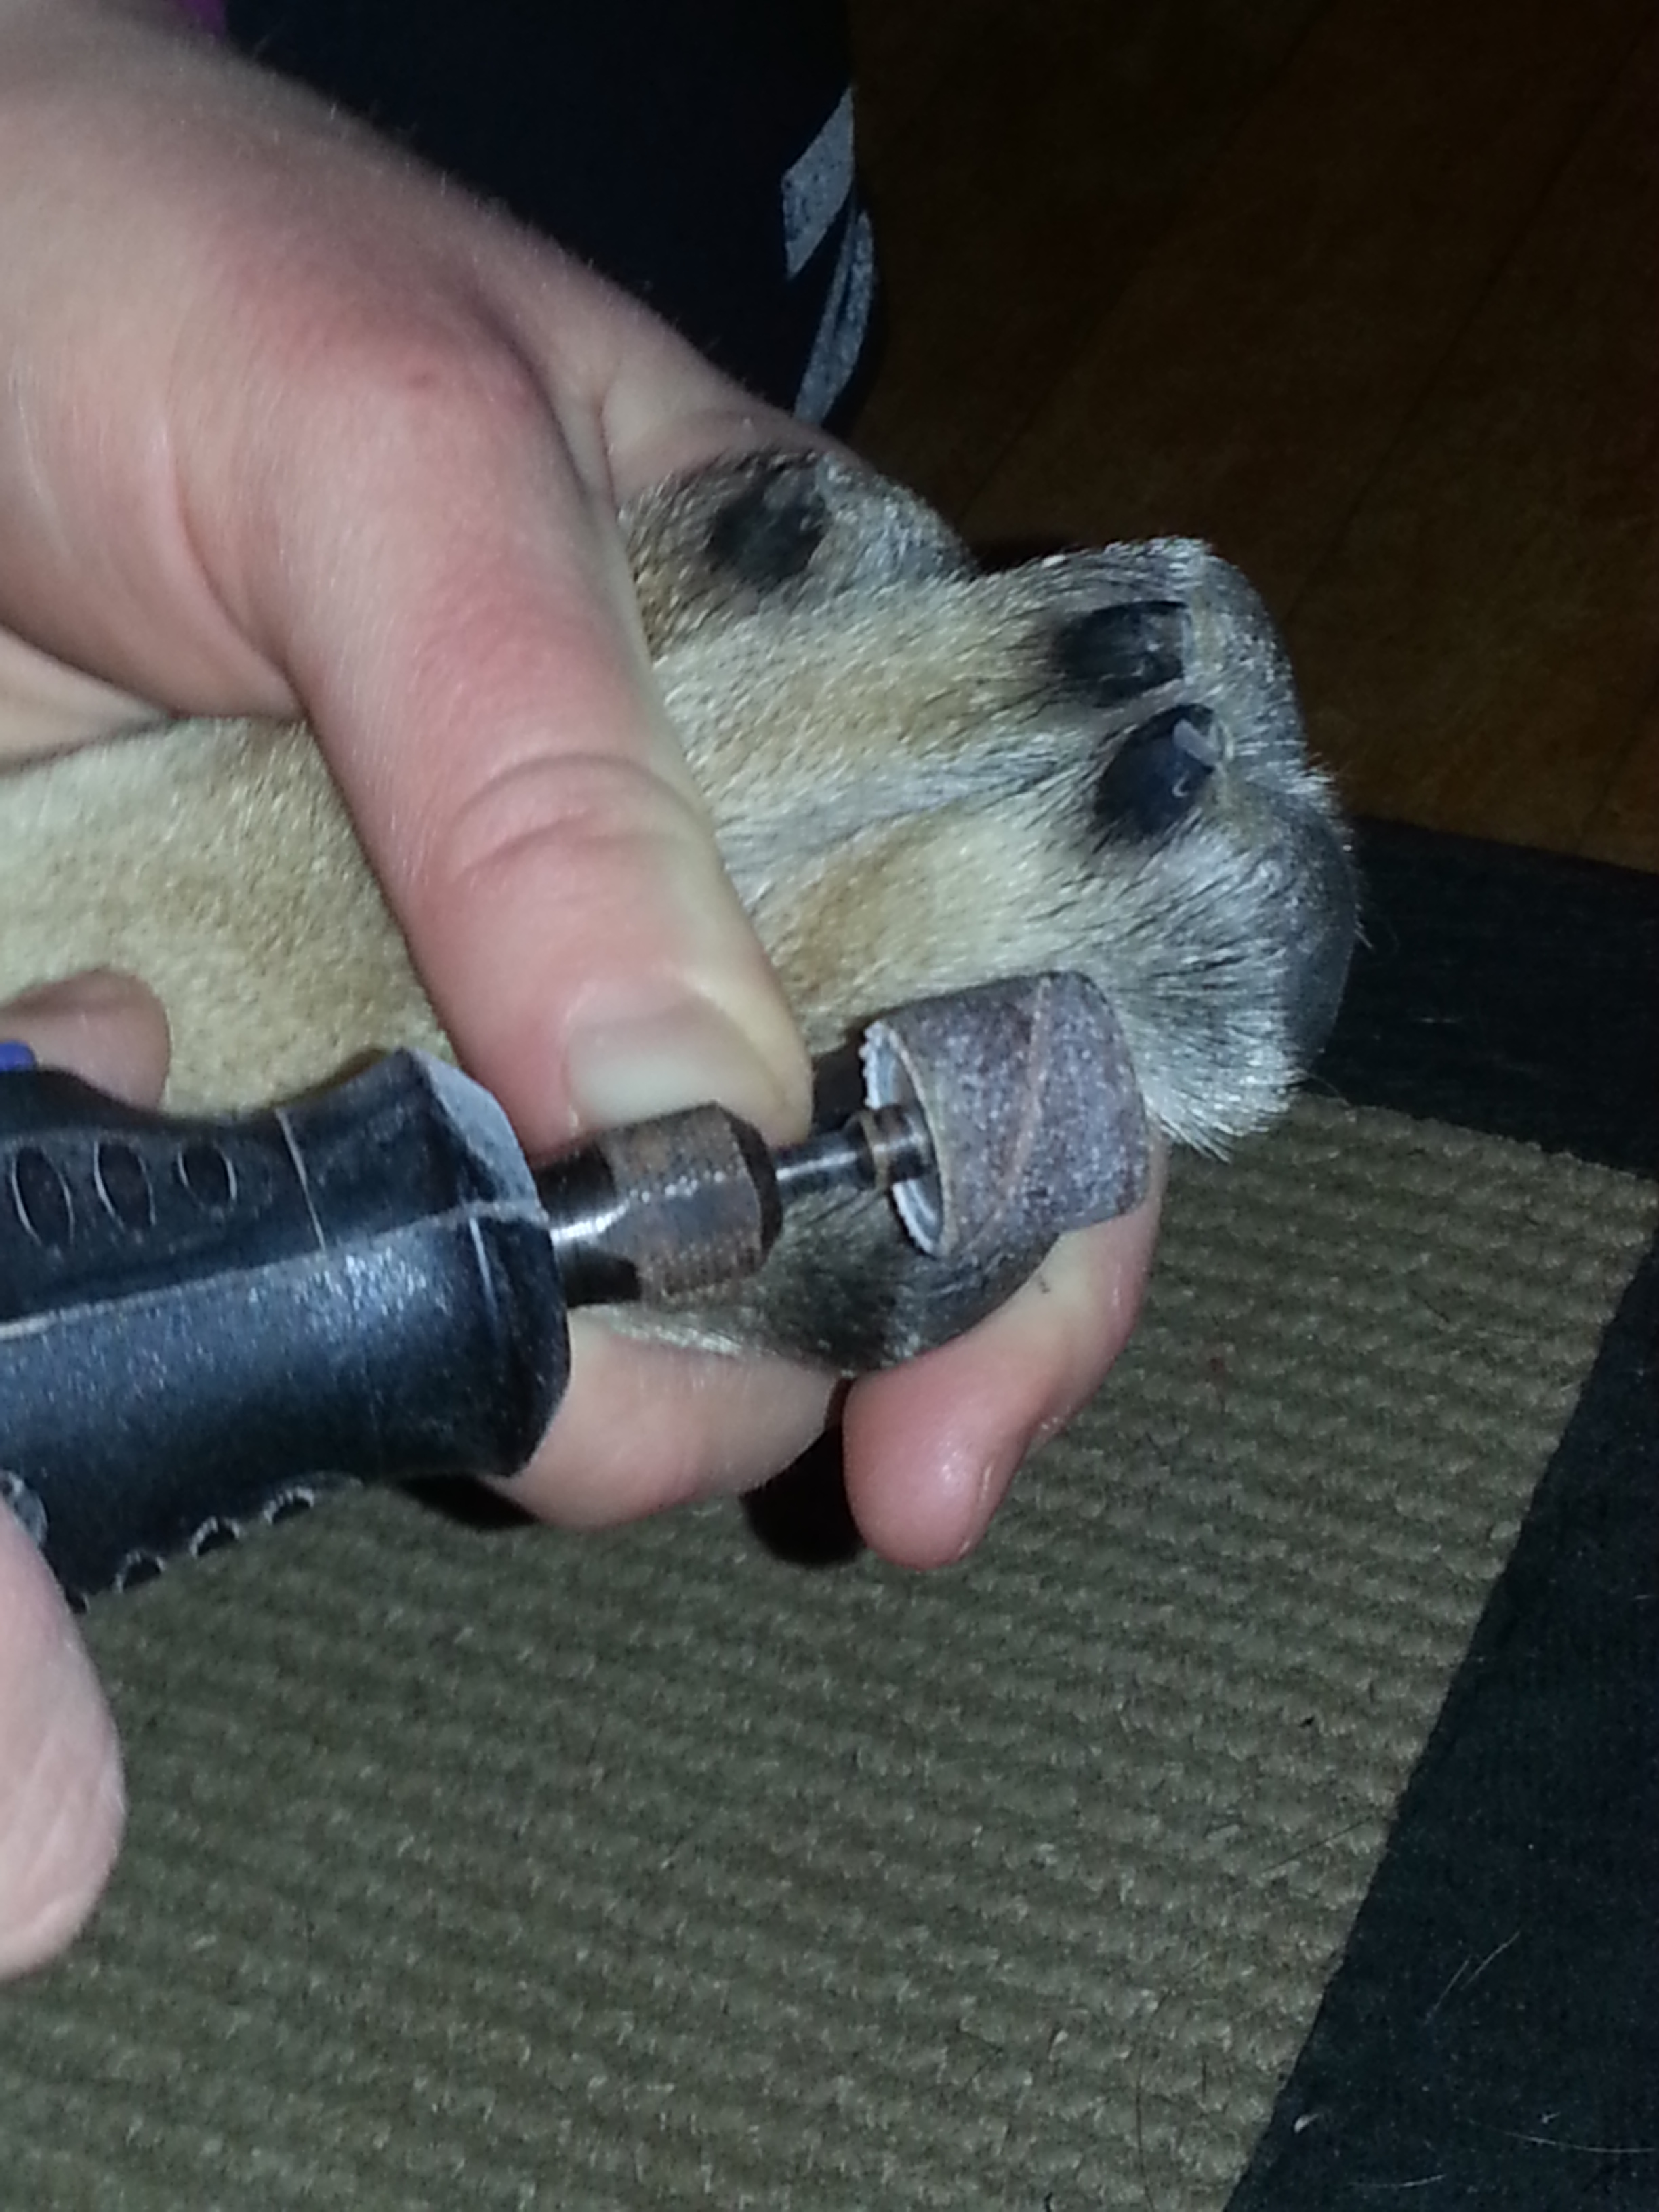
Using the Dremel:

Like training your dog for the clippers, the dremel takes time, patience and lots praise and rewards.
1. As in step one in “Using the Clippers”, we got Brenley used to having her feet handled with lots of food rewards.
2. We next introduced the dremel by letting her sniff and show interest in it. Once she was comfortable with having it near her we turned it on, using treats to reward her good behavior.
3. Just like step three in “Using the Clippers”, we started holding her paw and the dremel at the same time. Next we started touching the dremel to her nails without it turned on, then with it turned on. We were careful not to treat at the wrong time, only when she was giving us a behavior we wanted.
4. After Brenley was comfortable with step three, we proceeded to dremel her nails. This involved grinding the nail tip, making sure to go slowly and take a little off at a time to ensure we weren’t getting them too short.
The “quick” is the supply of blood vessels to the toe nail.

It is much easier to see in white/clear nails than dark nails. If the nail is clear, the quick is the pink area inside the nail. You want to trim the toenail to within a few millimeters of the pink part. However, if the nails are dark and difficult to see, you will have to trim small pieces off at a time and look at the cut area. The cut area will change from black to a grey the closer you come to the quick. Stop trimming when you see grey coloration.
If you cut the quick on your pet and make them bleed, they will be okay, but it can be painful. It may mean you have to go back a few steps to get your pet comfortable with the idea of having their nails trimmed again. To stop the bleeding there are some household items in your pantry that can help. Place a small amount of cornstarch or flour in a Kleenex and hold it to the nail adding pressure. If you are unable to stop the bleeding give us a call and we can help you.
A clicker can come in handy when training your dog for trimming nails; it sure helped us with Brenley! If you are not sure what “Clicker Training” is, stay tuned to one of Kaila’s blogs coming soon.
Some dogs have no problem with having their nails trimmed, while others take LOTS of time and patience. If you would like a demonstration of everything I’ve written about, please call us to schedule an appointment. Not all dogs will allow you to trim their nails. Some are better without the owners in the room. If you tried to trim your dog’s nails without success or you would just prefer not to do them yourself, please give Truro Vet a call (893-2341) and we can assist you.
0 Comments